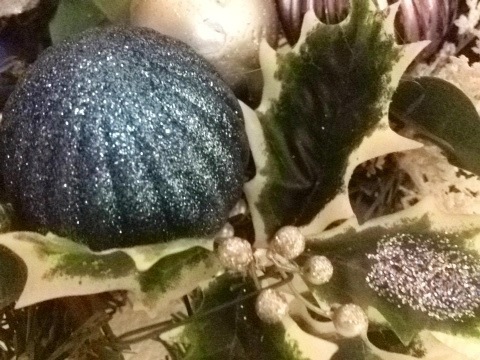
My annual donation of a wreath to Junior League’s Festival of Trees. I wanted to have an oceaney theme this year, but decided to have it be more subtly inspired. :)
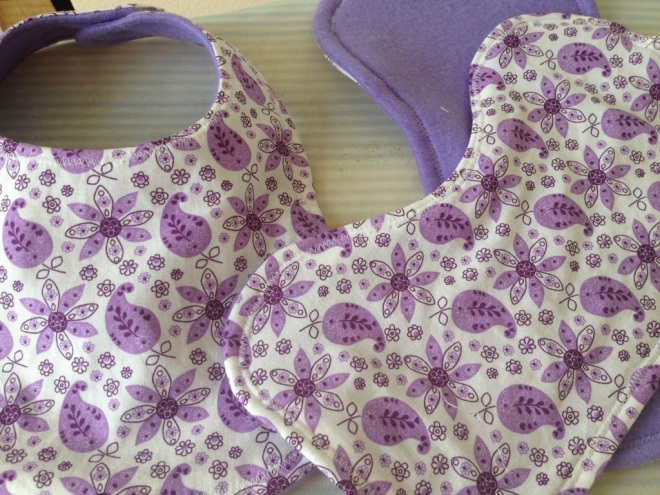
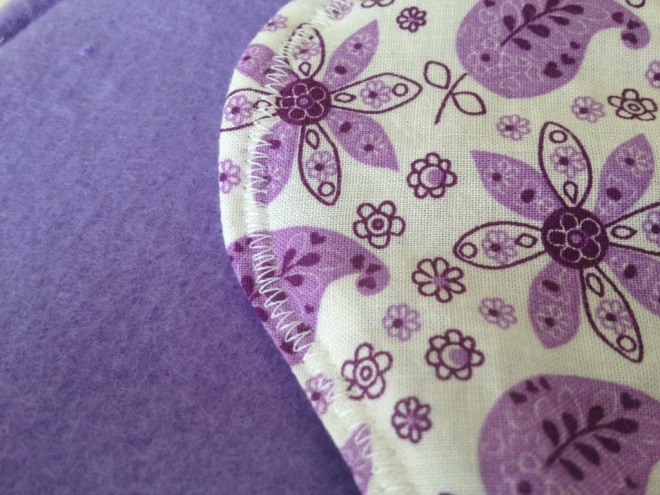
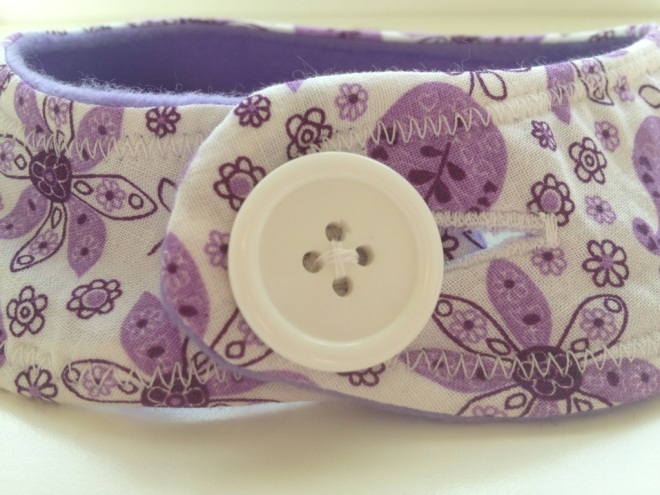
Baby gifts: Bibs and burb cloths
Sneak peek
Homemade gifts: Set of table settings
Adventures making cloth napkins
I recently decided to save some money by using cloth napkins instead of paper towels. Plus, there’s a certain elegance and sense of occasion with cloth napkins. I love that!
This was a pretty quick project. I used some fabric I already had on hand. I cut newspaper to make a pattern that measured 17 by 17 inches. Really, any square size would work.
The hardest part was the minted corners. The fabric didn’t keep a pressed fold very well, but I muddled through. I think, all in all, they turned out quite well!
Pretty neat, right?
Cards for friends
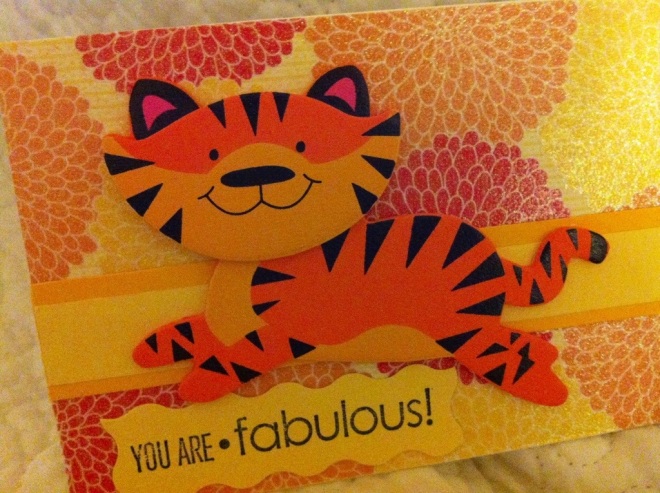
A lovely card for a lovely friend
How I incorporated PILES (instead of files) into my home management binder
I’m so proud of myself!
One of my goals this year was to organize myself. I’m a semi-organized person, but I tend to pile instead of file. No matter how many “filing systems” I try to put into place, I always end up piling! And then, despite the best intentions, the piles take over my counter!
My outlook on pilers like me started to change after I read the book “Organizing for the Creative Person.” The words were music to my ears: There’s nothing wrong with my desire to pile! It’s part of who I am – like being right handed.
I decided right then and there to stop working against my piles and start working with my piles.
A second epiphany hit while reading blogs about organizing paperwork. Files don’t have to be stagnant. Paperwork doesn’t have to go there to die, never to be seen again. Files can be fluid – a place to move things in and out of as necessary.
My world, officially, was rocked!
With that knowledge, I created a home organizing binder. I loosely based it off of IHeart Organizing’s concepts. She has great printables.
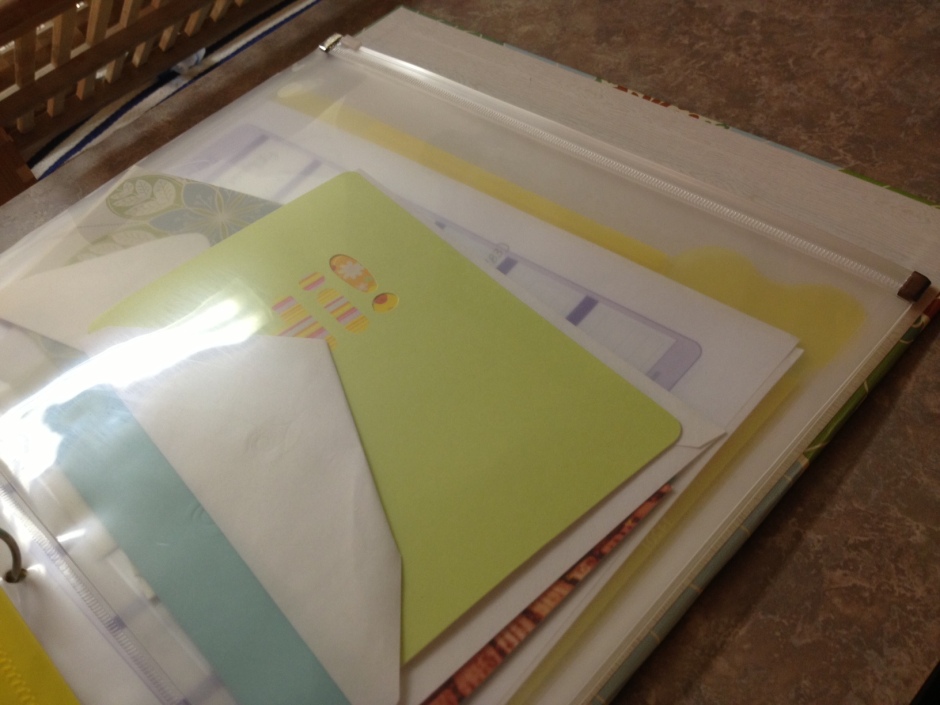
The big exception…. drum roll please… I bought clear plastic zipper sleeves to PILE my paperwork!
Genius, right?
My Home Binder
I decided to buy a pretty binder from Target so that it looks nice on my counter. I find my myself flipping through it a couple times a day, so I wanted to make sure that it was easily accessible and that I liked how it looked.
Here’s how my piling system works:
In the first pocket I pile incoming mail (no bills – they go in a different pile) and stamps. Once a week, when I do my bills or other paperwork, I go through this pile.
Behind that is a weekly to-do list of home stuff (cleaning, grocery shopping, etc) so I know which day I’m going to do it.
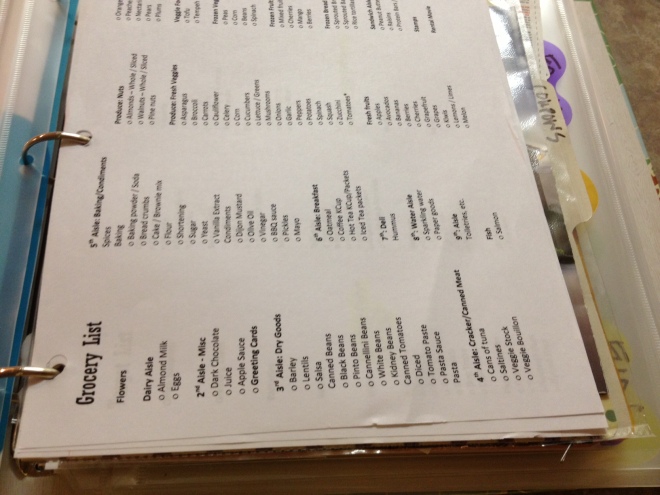
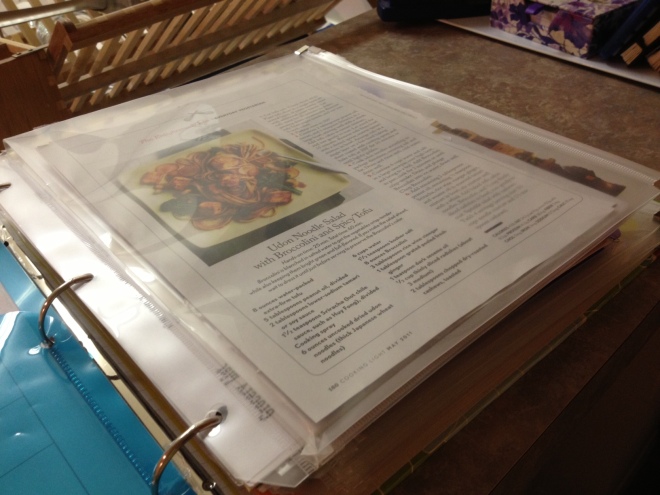
Tab One: Spending. This houses my shopping lists (I write down as I think of what to buy), a pile of recipes to try (tried and true recipes are in a box on my counter), a business card sleeve with coupons for specific businesses, and two folders where I pile coupons for food and household items. Since I only shop for household stuff once every four to six weeks, this helps save time when I just need to look for current grocery coupons.
Tab Two: Bills. Here I put my bill check list and my bills. I also put envelopes and a print-out of company addresses or phone numbers. Bills to pay are piled in a clear zipper sleeve.
Tab Three: Budget. I have a weekly ledger so I can keep track of my spending habits. I’ve noticed that when I write down what I spend, I’m much better about being on budget. I also have a weekly list to see if I’m up or down in certain areas; that’s normal, since I only go to certain stores once a month. I also have a pile (a smaller one — an envelope with holes punched in the side) for receipts for the month.
Tab Four: Fun. A pile for fun things to go do – right now, that includes a coupon for a rodeo and (you can’t see it) a note about a photo exhibit I want to see. When I get tickets for an event, that will go in this pile.
Tab Five: Health. A check list for annual doctor’s appointments and a piece of paper for notes – a place for me to write down symptoms and/or questions as I think of them. I’ll place any paperwork (unfilled prescriptions, etc) in the corresponding pile.
Tab Six: Creative. Ideas for projects, crafts, photos, blogs – really, whatever I think about. When I see something in a magazine that I like, I tear it our and pile it here until I can decide if I’m actually going to do it.
Tab Seven: Growth. This is my most ambiguous pile. So far it contains my library to-read list and notes on my organizing ideas.
Tab Eight: Birthdays and Events. A pile for birthday cards, thank you cards – plus a list of birthdays and addresses. I love writing thank you notes, so this makes it easy and convenient.
The big trick will be keeping my piles fluid: As new coupons or events or bills or receipts come in, old coupons or events or bills or receipts come out. Items I want to keep go into a separate binder.
So stylish!
Organizing and quilt shopping
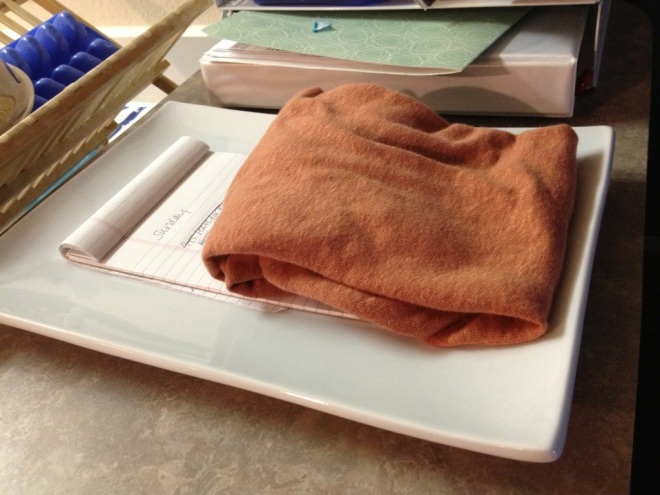
I was inspired to do some organizing this weekend. I bought this serving tray to use as an “out box” of sorts for my kitchen counter. On it right now is a to do list and a shirt I need to return.
I don’t mind having items out so long as they are contained, and this seemed like the perfect solution. My organizing philosophy is to work within my natural flow, instead if fighting it. I’m going to use my counter as a tasks-oriented place, so might as well work with that rather than against that.
Next up is a similar serving bowl for my remote and random pens and pencils. Stylish and practical! Now they finally have homes in my living room. I chose an oval bowl because the sides help hide the remotes. Smart, right? :)
While I was out I also bought some sewing supplies. These cutting items were on sale. Score!
I also bought white fabric for my quilt. I’m getting so excited to see how it turns out!


